

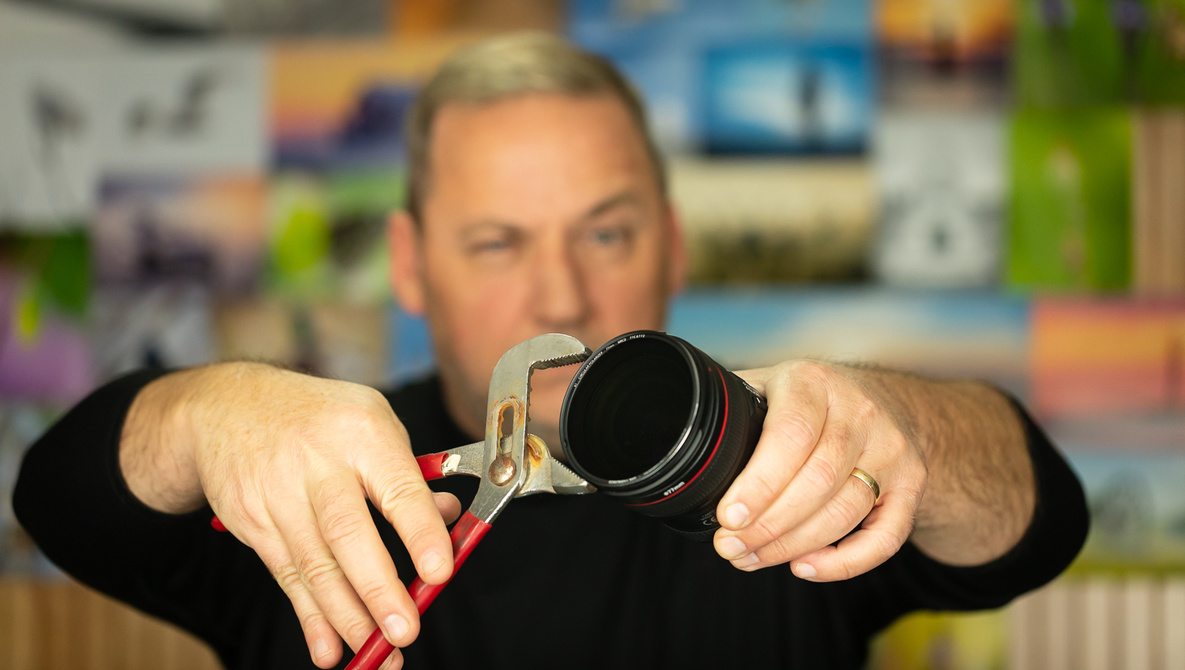
If you use screw-in lens filters, sooner or later, you may end up with a stuck lens filter that refuses to come off. Have no fear, though: here are 10 ways to remove that stuck lens filter.
There are two types of stuck lens filters. The first is one that is either screwed on too tight or has debris in the threads. The second type is one that has become stuck because of damage, most likely from an impact. Before you decide on a removal method, carefully inspect the lens filter to determine if it is damaged or not.
The most common stuck lens filter is one that has been screwed on too tight or has debris in the threads. Tightening the lens filter too much or even a temperature change can cause the lens filter to become stuck.
Lens filters constructed from aluminum are more likely to have this problem. When those filters come in contact with an aluminum lens thread, it can gall. Galling is a form of wear caused by two sliding surfaces. When a material galls, some of the material is pulled along the contacting surface and builds up, resulting in a wedge-like force between the mating surfaces.
Some of the more expensive filters use brass, which doesn’t tend to gall and may be something to consider the next time you purchase a lens filter.
It May Just Be Your Grip
Believe it or not, sometimes, a filter isn’t actually stuck until you try to remove it. Gripping the lens filter too hard can cause it to deform into an elliptical shape, which causes the other side to dig into the threads and bind. Sometimes, using the least amount of force will allow the filter to turn loose.
Caution: Before You Begin
Before you try these methods, it’s worthy to note a few cautionary things. The torque you place on the filter and lens can damage your lens. Using caution is especially noteworthy with zoom lenses that have more complicated inner workings. When holding your lens, you should grip it as close to the front element as you can to reduce the twisting force on the inner workings of the lens.
You should also remove the lens from the camera body. Your initial thought might be that the camera body will help hold the lens from turning, but this also allows a damaging force to be applied to the lens. You also don’t want to drop the camera body. If done correctly, you should be able to remove a stuck (not damaged) filter without much force.
Tips #1 and #7 work most of the time, but if you have time to spare, tip #5 is the recommended method for really stuck filters, as well as circular polarizer and variable ND filters. Polarizer filters and variable ND filters have an outer ring that rotates on the main filter ring, which can make these filters especially challenging to remove.
Non-Destructive, Non-Tool Methods
1. Tapping With a Finger or Hard Object
This method works better than you might initially think. Most of the time, it works well. While gently applying a twisting force with one hand, gently tap or flick the filter with your fingernail or a semi-hard object. The tapping imparts a light shock to the lens filter, often jarring it enough to allow it to turn. The key here is to tap the lens filter gently so that you don’t cause any further damage, denting, or shock to the lens components.
2. Using Both Hands
This method aims at applying even force from as many directions as possible, without deforming the filter. The trick here is that you are applying more gripping points to invoke a twisting force and not as much squeezing action. Grip the lens filter with four or more fingers and turn. You may find this easier to do if you have someone else to hold the lens.
Varying the amount of force between your fingers may also help free the filter.
3. Use Another Filter or Step Down Ring
Screw another filter onto the stuck filter, but leave it just shy from tight; we don’t want to get another lens filter stuck! Now, using squishing force to elongate the second filter, attempt to unscrew it. This squishing force should elongate the second filter into an elliptical shape, causing its threads to grip into the stuck filter threads.
4. The Freezer
Metals contract when cooled. The filter threads are tiny, and the filter ring is relatively thin, so it doesn’t take much contraction to release pressure on the threads.
Place a plate in the freezer with a small amount of water in it and allow it to freeze. Place plastic wrap over the filter; this will help keep the lens filter dry, as we don’t need moisture making it slippery. Once the plate has frozen, place the lens filter side down on the ice for about 15 seconds. The filter should cool down and slightly shrink. Remove the plastic wrap and attempt to unscrew the filter. If you leave it on the ice too long, the lens itself will also cool and contract.
Non-Destructive, Tool Methods
5. Filter Wrench
The phrase “the right tool for the job” could not be more accurate here. Some people may not know that they make wrenches specifically for the purpose of removing stuck lens filters. A filter wrench is an inexpensive tool that you can easily carry in your camera bag. They make removing stuck filters easy. Most of my lenses have the same 77mm filter size, so I only have one size in my bag.
Filter wrenches come in a variety of sizes and types. They normally can remove lens filters in a small range of sizes. I have a rubber-coated type, which provides a bit more grip than just the hard plastic type.
6. Anti-slip Mat / Mouse Pad / Oven Mitt
This method works on the principle of applying a turning force with no squishing force. Place the lens filter side down on the backside of a rubber mouse pad or silicone oven mitt. Apply a slight downward force and turn. If all works well, the evenly applied friction should turn the lens filter off. Make sure you’re turning it the correct direction.
7. Rubber Band
This little hack works better than you might think. If you’re not going to carry a filter wrench in your camera bag, at least carry a good rubber band. Place the rubber band on the filter, being careful to not overlap onto the lens portion. The rubber band will give you much more gripping power without requiring as much squeezing force.
A wide rubber band is especially useful with a circular polarizer or variable ND filter, as the rubber band will span the two rings and provide additional gripping area.
8. Gaffers Tape
This method is a bit more tricky, and may not work as well on filters with a small surface area. Wrap the gaffers tape around the lens filter, at least one full wrap. Leave about four inches of tag on the end. Firmly hold the lens, preferably against a stationary object. Give the tag end of the tape a small but sharp yank, being careful to not pull the lens out of your other hand.
You may also use the gaffers tape to get a better grip on the lens filter and loosen it like you normally would.
9. Take It to a Camera Store
If you have a local camera store, they are most likely familiar with this problem and can help remove the filter for you. My local store sees three or four stuck filters a month. Except for dented lens filters, they rarely see a lens filter that the rubber band trick can’t remove.
Your local camera store experts can also inspect the lens and lens filter for damage, possibly preventing future stuck filters.
Destructive Methods
If a lens filter isn’t damaged, one of the methods above should work. However, a damaged lens filter is an entirely different thing. There are quite a few little things here that can go wrong and permanently damage your lens.
However, if you’re the adventurous type with a bit of mechanical ability, this method might be right up your alley.
10. Sawing or Filing It Off
This method is the last resort for broken/dented filters. I recommend taking the lens to a professional for removal; don’t say I didn’t warn you. Replacing a front element or outer housing of a lens can sometimes be very expensive. Often, the professionals have an array of tools such as filter wrenches and lens vices. Most of all, they have the experience to quickly and safely remove a broken or dented filter.
This method involves sawing or filing partway through the filter, removing or breaking the glass out of the lens filter, and then using pliers to bend and remove the filter. It’s so not recommended that I’m not even going to provide the detailed steps here; you’ll have to do an internet search for that.
Prevention of Future Stuck Lens Filters
First of all, you don’t need a UV filter to filter out UV light unless you’re shooting film; digital does not pick up blue UV haze. Second, UV filters don’t really protect your lens except in a couple of extreme conditions (like blowing sand).
Thirdly, UV/protection filters cause many more problems than they fix, such as lens flare, ghosting, and reflection artifacts. If you’re worried about damage to the front of your lens, your best protection is a lens hood.
Do not over-tighten your filters. Use only two fingers, turn it gently until it stops. Don’t tighten it down. It’s not going to fall off. The threads are small enough that it won’t vibrate loose. Check it occasionally.
Do not use any liquid or paste lubricant. These will get all over everything and are very difficult to remove from surfaces such as your front element. If you use anything, use a tiny amount of powdered graphite. Honestly, after you have a filter wrench and learn not to tighten down your filters, you’ll probably never have a problem removing them, and lubrication won’t be necessary.
Clean the threads of your filter with a small brush, especially if the lens filter is relatively new. The coating on the threads will wear with some use, so brushing away small wear particles will help keep it from getting stuck again.
Consider buying filters made from brass instead of aluminum, as they are far less prone to getting stuck. Quality filters made from brass probably have better optical properties also.
Conclusion
A stuck lens filter isn’t any fun, but hopefully, these tips will make that experience a short one. Once you know a few of these tricks, there probably isn’t a non-damaged filter that you can’t remove. Don’t forget to put that rubber band in your camera bag.
Do you have any tricks that I didn’t cover here? Let me know in the comments!