

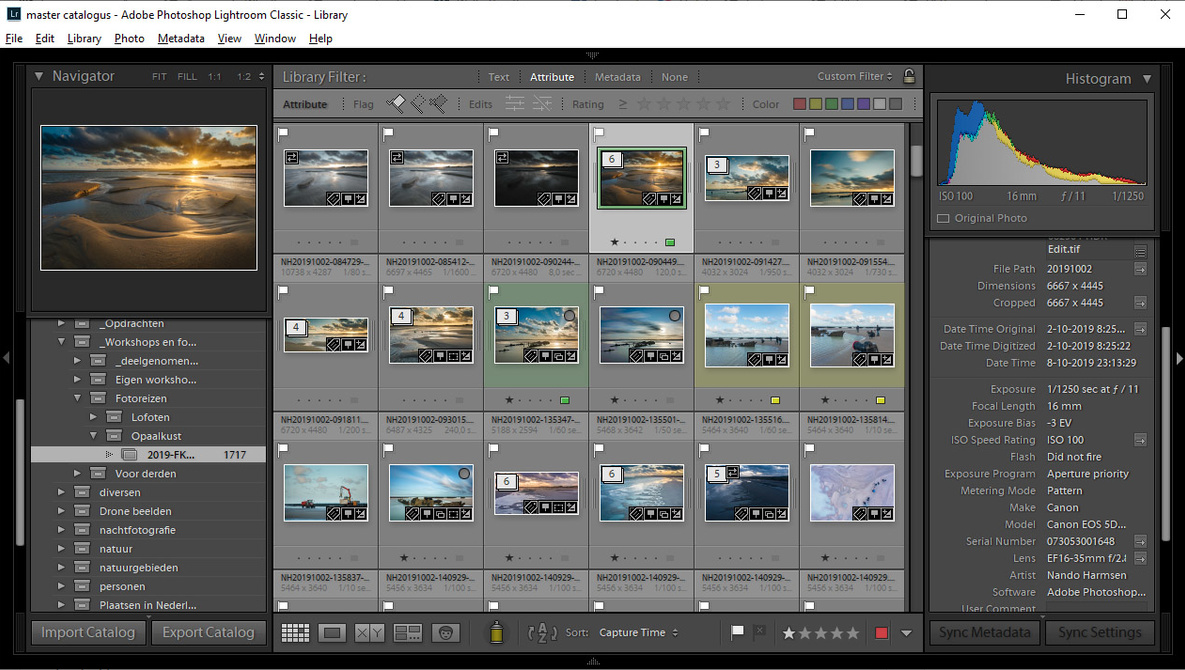
Lightroom is probably the most used photo database program available, with an integrated raw file editor, and many options for post processing. These thirteen tips can improve your Lightroom experience.
Adobe Lightroom is a program that is loved and hated. This article is not about that. It is for the people that are using it and would like to learn more about the many options that are possible.
Lightroom is the dark room of the digital age. It enables us to develop your digital footage similar to the way it was done in the analogue days, when photographers spend their time in yellow or orange light, bending over toxic developer, stop, and fixation chemicals. But the digital developing of photos is only a part of Lightroom. It is a database that enables us to maintain a large catalog with all the photos we took. It is a tool that makes it possible to find an certain image between all those others.
For this article I have looked at my method of working with Lightroom. It is impossible to show all the options that can be used, and I would be lying if I would say I know them all. I just want to show a couple of things that make my work in Lightroom easier and efficient. Maybe some of those things are already known and obvious, but perhaps there are a few that can help you when working with Lightroom.
1. Use the Letter I for Switching Information
There is some information about the photo in the left corner when you are in the develop module. You can choose what you want to show, and it is possible to switch between two sets of information. By tapping the letter i, you can switch between these two information sets, or to show no information at all. Just press i to toggle between the information.
2. Solo Mode for Collapsing Panels
At the left and right of the window there are different panels. By clicking on it you can expand the panel, or collapse it. When you open different panels you will need to scroll down and search for the right one, especially in the develop module. By right clicking on one of the panels you find the option solo mode. By activating this option, a panel will collapse automatically when you chose another panel. This way you won’t have to scroll so much.
3. Select Toolbar Content
You will find a toolbar below the image. It is possible to choose a couple of options to show on this toolbar. Just click on the button at the right side of the toolbar, and choose the options you will use a lot. This way you have easy access for the most used options, or hide the ones you never need.
4. Show Filters in the Toolbar
If you like to filter the images in your collection, you can have easy access to most filters by a double click on the word Filter. It will expand most common filter options like flags, colors, and stars.
5. Use Flags for Selecting Images
If you need to select images, it is advisable to use flags. By pressing the letter P a white flag will appear. By pressing the letter X a black flag will appear, which means rejected. By setting the option auto advance in the photo menu, Lightroom will automatically go to the next photo when you have added a flag status. This way you can go quickly through your images. Once every few weeks or months you can choose all rejected images for a quick and simple deletion.
6. Do Not Show the Histogram While Culling
Lightroom shows a histogram when you open a photo, no matter if you are in the develop mode or in the grid mode. By collapsing the histogram panel, Lightroom no longer needs to calculate the histogram when you open a photo. It makes culling in Lightroom much faster.
7. Use the Letter O With the Crop Tool
Do you have a problem with composition lines? When you use the crop tool it is possible to show a set of different grids. But also the most common composition guidelines are included, like the rule of thirds, the golden rule, the diagonal method, the Fibonacci spiral, and the baroque method. You can switch between the different guidelines by pressing the letter O when the crop tool is activated. It is also possible to rotate the guidelines by pressing shift-O. This can be very helpful at times.
8. Use Alt When Setting Blacks and Whites
It can be wise to set the black and white point of the image. This can be done before you start processing the image, but also after you are done. For this setting you can double click on the word whites and blacks in the basic panel, but then you cannot see what is happening. By holding the alt key while dragging the guide left or right, a mask becomes visible, and you can see what will become absolutely black, or absolutely white. It is helpful with determine the contrast in the photo.
9. Use the Space Bar for Panning
If you use a tool in Lightroom, like a gradient tool or spot removal, and you use 100% magnification, you can press and hold the space bar to temporarily activate the panning tool. You can pan without the need of leaving the tool you are using.
10. Resetting an Effect
If you have used a gradient with lots of effects, it can be a lot of work to set every option back to zero. By double clicking on the name of the effect, it will reset. If you double click on the word effect, at the left top of the panel, all settings of that panel will reset at once.
11. Use a Mask When Use Sharpening
It is almost never necessary to sharpen the complete image. But Lightroom has only one sharpening tool, that will add the sharpening to the complete image. Fortunately Lightroom has also the possibility to add a sharpening mask. By pressing and holding the alt key while setting the mask slider, it is possible to limit the sharpening to only a part of the image. Everything that is white in the mask will be sharpened. What becomes black won’t be sharpened.
12. Use Shift for Straight Lines
If you want a gradient tool absolutely horizontal or vertical, you can press and hold shift when applying the mask. Another good use for the shift key, is with the spot removal tool. If you need to remove a line, you can press the spot removal tool on the beginning of the line, hold the shift key, and press on the end of the line. Lightroom will automatically make a straight line.
13. Use Snap Shots
If you have a great result while post processing, but you want to do another, it is possible to make a snap shot of that first result. Just click on the plus sign in the snap shot panel at in the left. You can give the snapshot a name to your liking, and continue processing, or start all over again. It is possible to make as many snap shots as you like, and return to every one of those snap shots, or switch between the snapshots.
These thirteen things make working in Lightroom just a little bit easier and quicker. There are a lot of other simple tricks available. If you have a cool helpful shortcut or trick for easy processing in Lightroom, feel free to share this in the comment below. The more tips that are gathered below, the easier working with such an extensive program like Lightroom will get.