
Choosing the software to suit your specific needs is not an easy decision for most. A quick search of internet forums will introduce you to zealots from all sides who will tear down anyone who doesn’t use their chosen software. It’s unhelpful at best. As someone who has played for both sides over the past few years, I’ve had a good look into both Capture One and Lightroom. Today, we’re going to look at five reasons why Capture One is simply better than Lightroom. Next week, we’ll do the opposite.
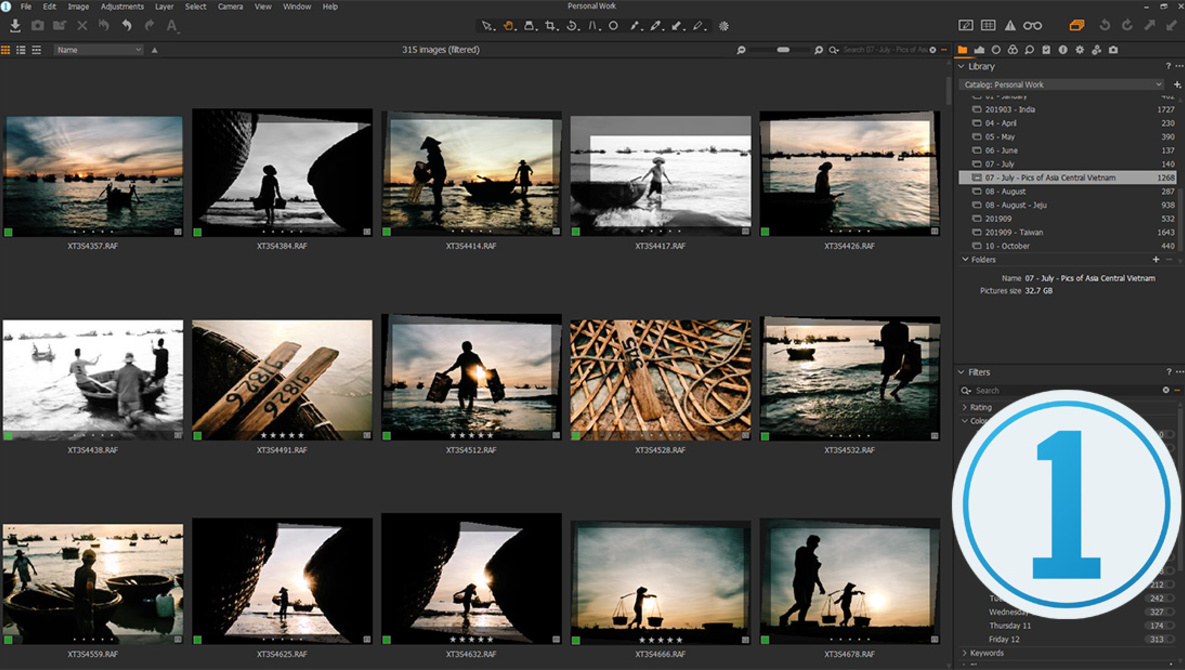
While Capture One and Lightroom take very different approaches, they are both aiming to be your digital asset management and raw converter of choice. To that end, they both provide a suite of tools to allow you to organize your images and develop them from raw into a standard format. We’ll not be looking at specific image qualities in this discussion, because those are highly subjective and may be the sole reason you choose one piece of software over another (check out “The Complete Capture One Editing Guide with Quentin Decaillet” for a detailed look at Capture One’s tools). We’ll be looking at how the software performs, handles your files, and the sorts of customization that are possible. Let’s look a little at what Capture One holds over Lightroom in those regards.
Speed
You’ve probably heard this one before, but Capture One is just fast. File imports are much quicker than Lightroom and preview generation marginally so, increasing significantly with higher core-count CPUs. Once that’s done, however, you get to see how blazingly fast Capture One truly is.
The processing engine of Capture One instantly responds to movements of adjustment sliders and any other changes you make. This makes post-production a smooth and enjoyable process. There is also no need to regenerate previews after each change. The Capture One previews simply adjust themselves as you make changes, so your workflow is never interrupted.
Customization
Aside from speed, one of the things that initially drove me to try Capture One was the ability to customize my tool layout. My post-production process doesn’t rely on using all the tools all the time. So, the ability to put my most-used tools on a single tab and have them easily accessible was a huge reason I jumped into Capture One in the first place.
With Capture One, you can take any tool and put it anywhere you like. You can place the five or six tools you use most often on a single tab and have them all expanded and ready to use. So, if your most commonly used tools are Exposure, Levels, and Color Balance, in that order, you can place them right next to each other on a single tab so you’re never hunting for the tools you need.
You can also save presets for each individual tool for settings you use often to speed up your workflow. These can even be set as defaults (on a per-camera basis) if you wish so there is never a need to apply the settings yourself. This is great for those who have, for example, default sharpening settings for multiple cameras. These can be automatically applied based on the camera at import.

Tokens and Naming
Capture One has an exceptionally robust set of “tokens” that allow you to create folders and filenames automatically at import and export. These can be anything from simple counters to any value from metadata. This is extremely powerful for exporting your finished images. Capture One can generate folders, sub-folders, file names, and even watermarks on your images using any of this data.
While I personally don’t use a huge amount of this functionality, it does allow me to quickly export a set of photos automatically named and located for my blog, two different resolutions for my client, and a set of proofs to my phone with a single click. So, when I finish my post-production, I make one click and go ahead with some other tasks I need to get done knowing that when I come back, everything will be ready for all those purposes.

Available for Purchase
This is a big one. Despite Adobe’s record-breaking profit reports suggesting the company is not going anywhere soon, we all see the direction their software is going. New versions and cloud-based applications mean that the current version of the software you’re using may cease to exist or be superseded by whatever Adobe sees as being the direction they want to go in. Thankfully, they’ve kept Lightroom Classic around to support those who want an offline experience so far, but who knows what the future holds.
In contrast to this, Phase One offers a version of Capture One for purchase. This means that no matter what comes next, as long as you keep the installer around, you can keep using that software as long as you like.
Multiple Tools for One Job
When it comes to color and exposure, Capture One offers a suite of tools for achieving your desired adjustments in the way you want. The Curve and Levels tools are both adjustable on a per-channel basis if you need to adjust color separately from exposure. On top of that, there are several dedicated color tools that allow for even finer adjustment of color and tone.
With Capture One, much like Photoshop, you have the ability to make all of these adjustments using several different tools and have those tools on a layer. You can create dozens of layers, each with its own mask and adjustments, without slowing Capture One down at all.

In Conclusion
So, that wraps up five of the ways I believe Capture One is simply better than Lightroom. For me, the things that really stand out are the efficiency and speed of the program, the customization capabilities within the interface, and being able to choose which tool suits your particular adjustment style better for color and exposure changes.
Are you a Capture One user? What makes it a better program for your needs? Where does it fall short? What could Phase One do to make it even better for you?